mndsm
I'M OFFENDED!
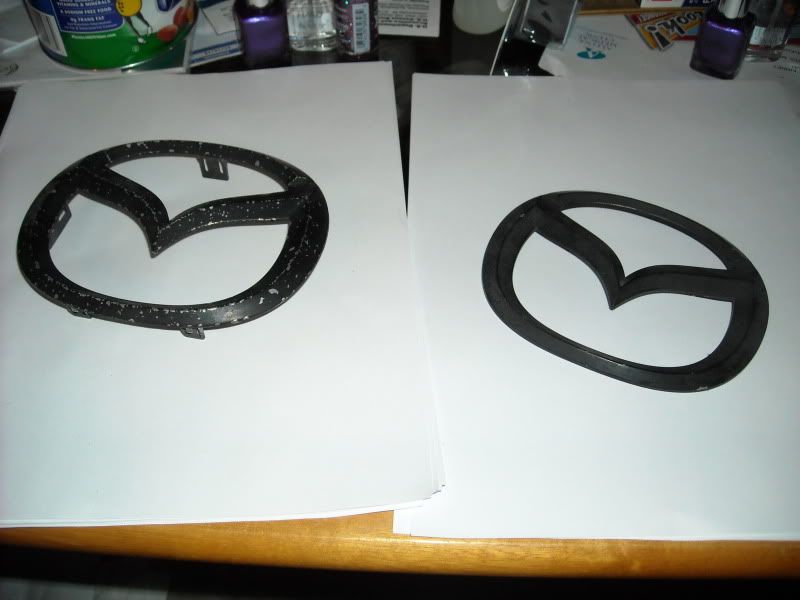
So, the other day, I was bored with my badges. They were lame, and one color. The front one was all chipped to hell, and the back one, while not chipped, left a lot to be desired.
Boring, right? Yeah, boring. But you ask- where do I get awesome colors? This my friends, is where yours truly got a little creative. See- inspiration struck me. Auto paint (at least the older stuff) was lacquer based. What else is lacquer based? Let me show you.
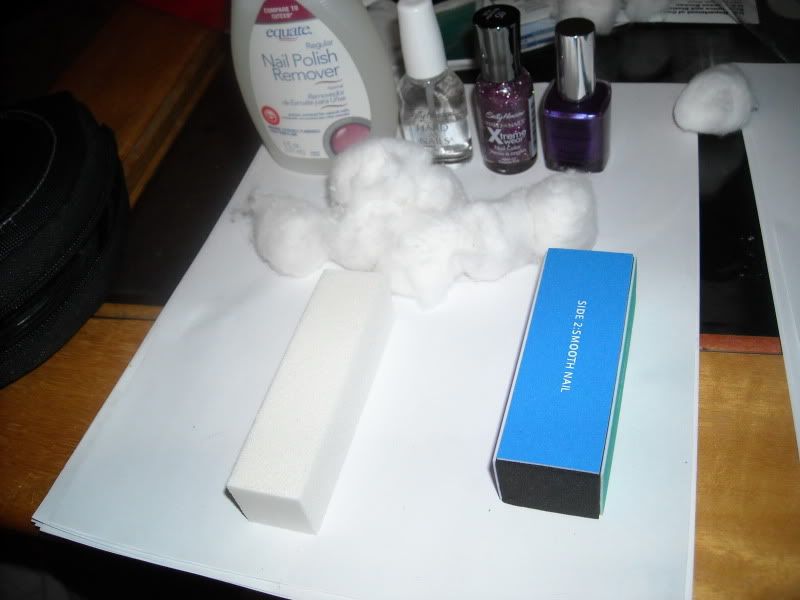
That's right, it's nail polish! Cheap, comes in awesome colors, and EASY to work with, and even comes with a fancy little applicator brush!
Now in that pic- you will see the supplies I used. We have our nail polish remover (which actually removes spray paint quite well) cotton balls, our nail polish base coat, our awesome glitter mid coat, and our clear coat. We also have an emery block, and a nail buffing block. We'll get to those later.
First- the removal. This sucked, because it made my whole house smell like paint thinner, and made the wife angry. Basically, I soaked a cotton ball in the remover, and rubbed the shit out of the badge til the paint came off.
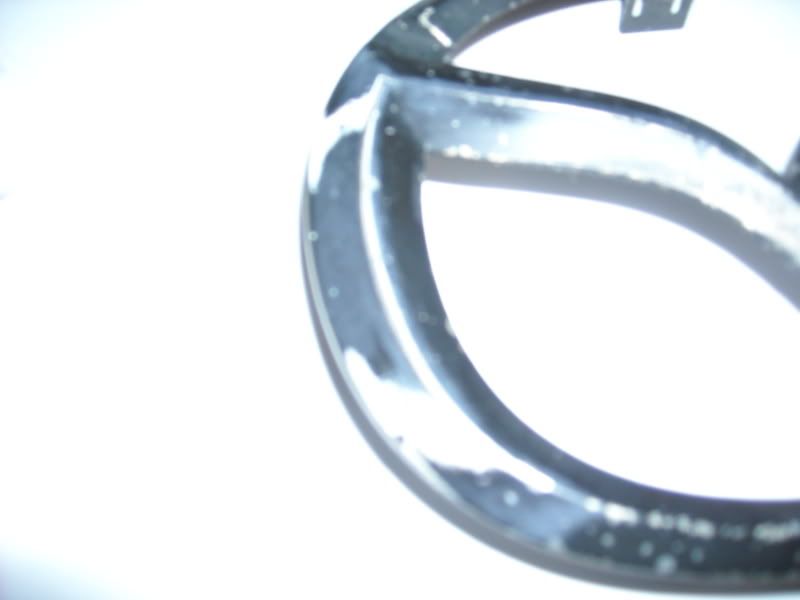
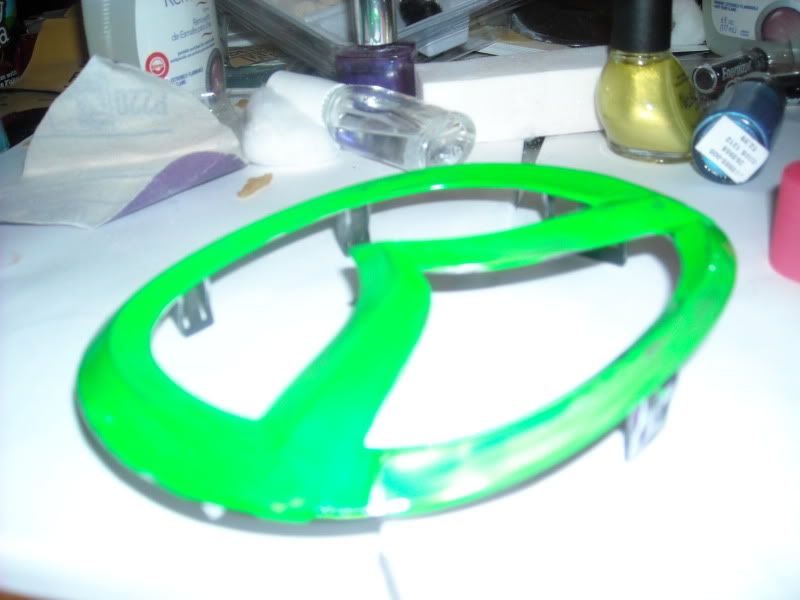
Shitty pic, but you get the idea. Whole shitload of rubbing, a couple of cigs (not real smart considering the whole paint thinner deal) and a handful of cotton balls later, and we get this.
Now, you'll notice, it has more of a brushed look than your typical Mazda chrome badge. Keep in mind, the chrome there is placed with glue from GOD. Shit is serious. I just scuffed the hell out of it before I painted them the last time, and it worked well enough.
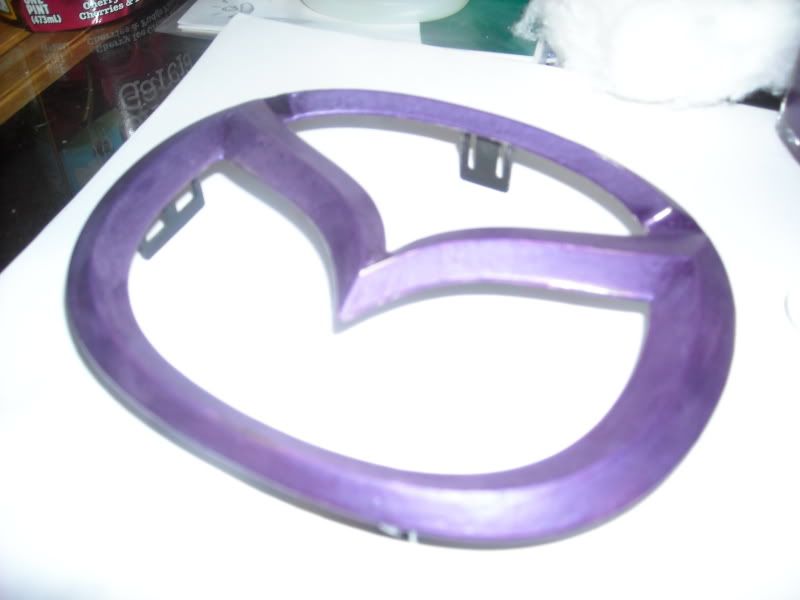
After some time to dry, and a vague attempt at cleaning all the paint and crap off my hands, it was time to paint. For this, we chose a very lovely shade of Sally Hansen purple.
Depending on the look you're going for (chrome showing vs. opaque) will determine the number of coats needed. IIRC, it took me approx 5 solid coats of any given color to get 100% opacity. (HINT- wait approx 5-10min between coats. This will save you from getting runs, and a lot less cleanup work later). When painting with the nail polish, make sure you have a liberal amount of paint on the brush, and apply in smooth, even strokes. When the polish starts tacking while applying, it's time for more polish.
Once you're done with that, and depending how lazy you were with the applying, will depend on what happens next. I skipped this step, because of what I was going for next, but you may want to smooth the polish out at this point. Use the emery block to knock down any nasty runs/chops/etc before you move on to the buff block. Buff block is nice because it has 4 numbered sides, and you just do them in order. Do sides one and two on the buff block, and then move onto the clear. If you're going for the next step that I did, you can wait on the buff block.
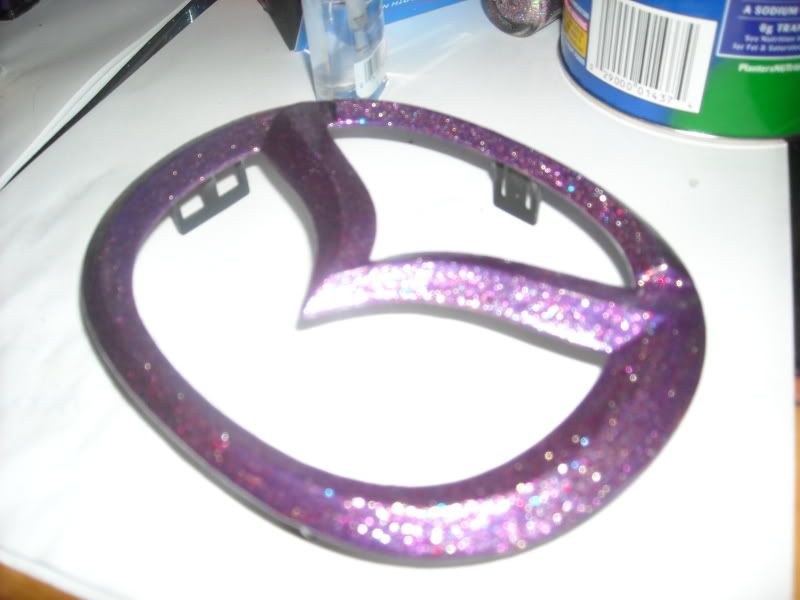
Next step, is the glitter. The stuff goes on kind of clumpy, and your surface will look like ass. We'll cure that later. With the glitter, use the same smooth stroked you did and apply several coats (coats relative to preference in sparkly) allowing 5-10 min a coat. I went with something like 8 coats.... because I like it REALLY shiny.
Once you do that, go ahead and skip the smoothing step. It's going to just fuck up your glitter coat, and you WILL NOT get it smooth.
After the glitter is pretty dry (depending on the polish and weather, 2-3 hours) then it's time for the clear. THIS IS THE STEP THAT WILL TAKE FOREVER. If you did glitter, you're going to need like 15 coats. every 5 coats or so, hit it with the emery block to knock down some of the roughness... since your clear acts as a buffer between the sanding and the glitter. Once you get a smooth finish, it's onto the fun stuff. One last time, hit it with the emery block, and get the badge nice and smooth. Then onto the buff block. You will probably burn your buff block out, but when you're done, it shall look like this!
Now a few things I learned- YOU WILL get goofy looks when you buy 50$ in nail polish at target at 9am.
You had better not be like me and be attracted to shiny colors- or you will spend 50$ on nail polish.
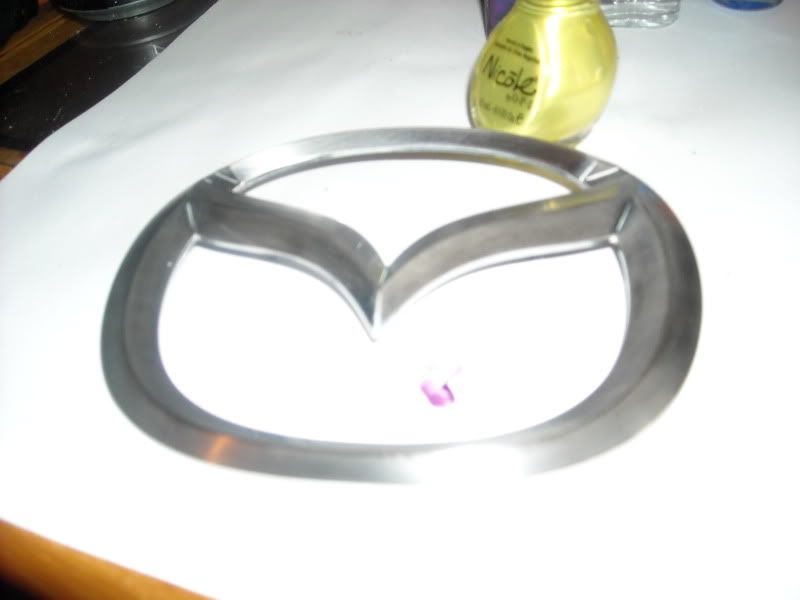
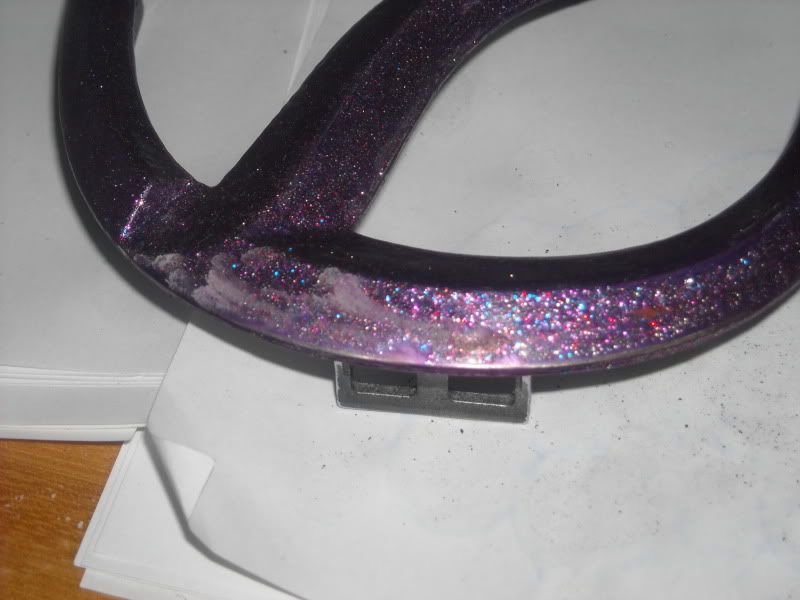
DON'T USE a dremel on nail polish unless you know what the hell you're doing, otherwise, it will do this....
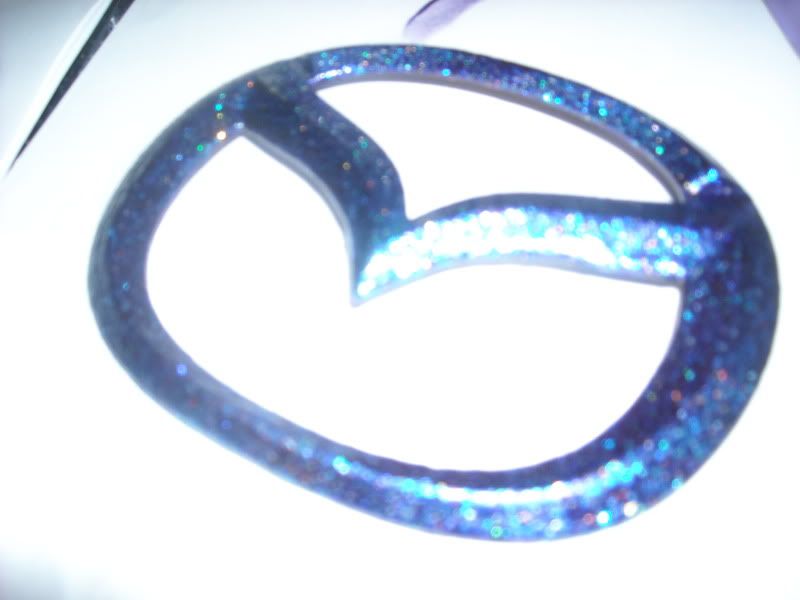
So, the purple badge had to be corrected- and I decided I didn't want purple anymore.
That's how it's done! Feel free to ask questions, I am sure I forgot something.
Boring, right? Yeah, boring. But you ask- where do I get awesome colors? This my friends, is where yours truly got a little creative. See- inspiration struck me. Auto paint (at least the older stuff) was lacquer based. What else is lacquer based? Let me show you.
That's right, it's nail polish! Cheap, comes in awesome colors, and EASY to work with, and even comes with a fancy little applicator brush!
Now in that pic- you will see the supplies I used. We have our nail polish remover (which actually removes spray paint quite well) cotton balls, our nail polish base coat, our awesome glitter mid coat, and our clear coat. We also have an emery block, and a nail buffing block. We'll get to those later.
First- the removal. This sucked, because it made my whole house smell like paint thinner, and made the wife angry. Basically, I soaked a cotton ball in the remover, and rubbed the shit out of the badge til the paint came off.
Shitty pic, but you get the idea. Whole shitload of rubbing, a couple of cigs (not real smart considering the whole paint thinner deal) and a handful of cotton balls later, and we get this.
Now, you'll notice, it has more of a brushed look than your typical Mazda chrome badge. Keep in mind, the chrome there is placed with glue from GOD. Shit is serious. I just scuffed the hell out of it before I painted them the last time, and it worked well enough.
After some time to dry, and a vague attempt at cleaning all the paint and crap off my hands, it was time to paint. For this, we chose a very lovely shade of Sally Hansen purple.
Depending on the look you're going for (chrome showing vs. opaque) will determine the number of coats needed. IIRC, it took me approx 5 solid coats of any given color to get 100% opacity. (HINT- wait approx 5-10min between coats. This will save you from getting runs, and a lot less cleanup work later). When painting with the nail polish, make sure you have a liberal amount of paint on the brush, and apply in smooth, even strokes. When the polish starts tacking while applying, it's time for more polish.
Once you're done with that, and depending how lazy you were with the applying, will depend on what happens next. I skipped this step, because of what I was going for next, but you may want to smooth the polish out at this point. Use the emery block to knock down any nasty runs/chops/etc before you move on to the buff block. Buff block is nice because it has 4 numbered sides, and you just do them in order. Do sides one and two on the buff block, and then move onto the clear. If you're going for the next step that I did, you can wait on the buff block.
Next step, is the glitter. The stuff goes on kind of clumpy, and your surface will look like ass. We'll cure that later. With the glitter, use the same smooth stroked you did and apply several coats (coats relative to preference in sparkly) allowing 5-10 min a coat. I went with something like 8 coats.... because I like it REALLY shiny.
Once you do that, go ahead and skip the smoothing step. It's going to just fuck up your glitter coat, and you WILL NOT get it smooth.
After the glitter is pretty dry (depending on the polish and weather, 2-3 hours) then it's time for the clear. THIS IS THE STEP THAT WILL TAKE FOREVER. If you did glitter, you're going to need like 15 coats. every 5 coats or so, hit it with the emery block to knock down some of the roughness... since your clear acts as a buffer between the sanding and the glitter. Once you get a smooth finish, it's onto the fun stuff. One last time, hit it with the emery block, and get the badge nice and smooth. Then onto the buff block. You will probably burn your buff block out, but when you're done, it shall look like this!
Now a few things I learned- YOU WILL get goofy looks when you buy 50$ in nail polish at target at 9am.
You had better not be like me and be attracted to shiny colors- or you will spend 50$ on nail polish.
DON'T USE a dremel on nail polish unless you know what the hell you're doing, otherwise, it will do this....
So, the purple badge had to be corrected- and I decided I didn't want purple anymore.
That's how it's done! Feel free to ask questions, I am sure I forgot something.